PRODUCTS
- High Voltage Transformers
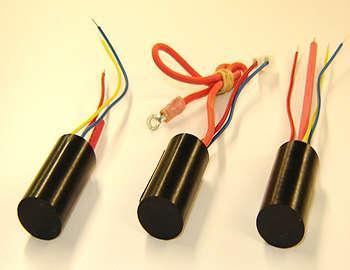
- Switchmode Transformers
- Flyback Transformers
- Trigger Pulse Transformers
- Step Up/Down Transformers
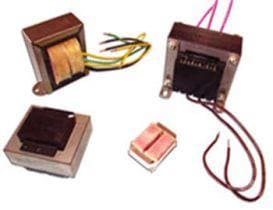
- Power Transformers
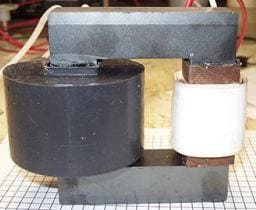
- Toroidal Transformers
- Antennas and Air Coils
- Down Hole Applications
- DC Igniters
- High Current Inductors
- Custom Manufacturing
- Hydrogen Coils
- Control Transformers
- Inverter Transformers
- Low Profile (LPC) Transformers
- Ferrite Transformer
- Pulse Transformers
- Single Phase Transformer
- Specialty Transformers
- Isolation Transformer
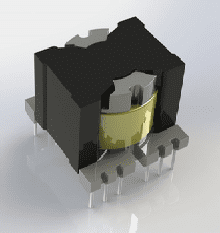
- Surface Mount Transformer
- Toroidal Inductor
- Air Core Inductors
- Ferrite Inductors
- Power Inductors
- Surface Mount Inductors
Quick Contact
How to Install a Large Power Transformer–Part III
In the previous post, we had elaborated on transformer site preparation, various pre-installation processes and best practices. In this post, we shall be looking various topics related to oil preparation, and installation of gaskets, bushings, conservator tank, breather and explosion vents.
- Oil Preparation and Filling: The oil supplied by the manufacturer needs to be filtered, cleaned and dried before using it in the transformer. The oil should be filtered till it meets the manufacturer’s parameters. Generally, these include electrical strength, resistivity at 27°C and 90°C, moisture content in ppm, and tan delta value at 90°C. All the components that are used to handle the transformer oil should be cleaned and flushed before use. Connect the inlet hose pipe to the oil tank as well as the transformer. Fill the oil to the top of the core, and create a vacuum to reduce any possibility of bubbles getting created in the oil.
- Gaskets and Gasket Joints: Generally, gaskets are supplied without any bolt holes Cut the gasket down to size and punch holes in them for bolts. Check the gasket for flexibility. Fit the gasket onto the transformer. Fit the bolts to each gasket and tighten them little by little in sequence to ensure uniform pressure.
- Fitting and Fixing Bushings of Transformer: Before you begin fitting the bushings on the transformer, check them to ensure that they do not have any cracks or damages. If there is no damage, clean them with a dry cotton cloth, and then use them. Use an electric clamping device to supply the requisite pressure and force to clamp the bushings onto the transformer.
- Installation of Conservator Tank: When installing the conservator tank, ensure that the joints are tight, the pipe work is clean and there are no discrepancies. The tank has a locking bolt. Place the conservator in position, and turn the locking bolt to install it. Fill the tank with oil only up to the level indicated. Always check that the oil temperature is maintained as per the indicator levels on the tank.
- Fittings of Silica Gel Breather: Silica gel breather controls the moisture that enters the electrical system of the transformer. Remove the plastic plug sealing, and fit the breather to the transformer’s pipe work. Remove the oil cup located at the bottom of the breather, fill it with transformer oil, and then reinstall it.
- Installation of Explosion Vent: This safety device is used to protect equipment from pressure created by excess internal pressures. The explosion vent comprises of ga diaphragm with a gasket. The vent should be installed on the transformer, ensuring the diaphragm creates an air tight joint. The vent has a top blanking plate. This should not be removed until the transformer comes right up to the tank cover.
Related Products
The next post will focus on the final steps towards transformer installation. These steps will discuss installation of Buchholz relay, temperature indicators, cooling equipment, and load tap changers. Also, grounding of the transformer and final installation will be discussed.

